
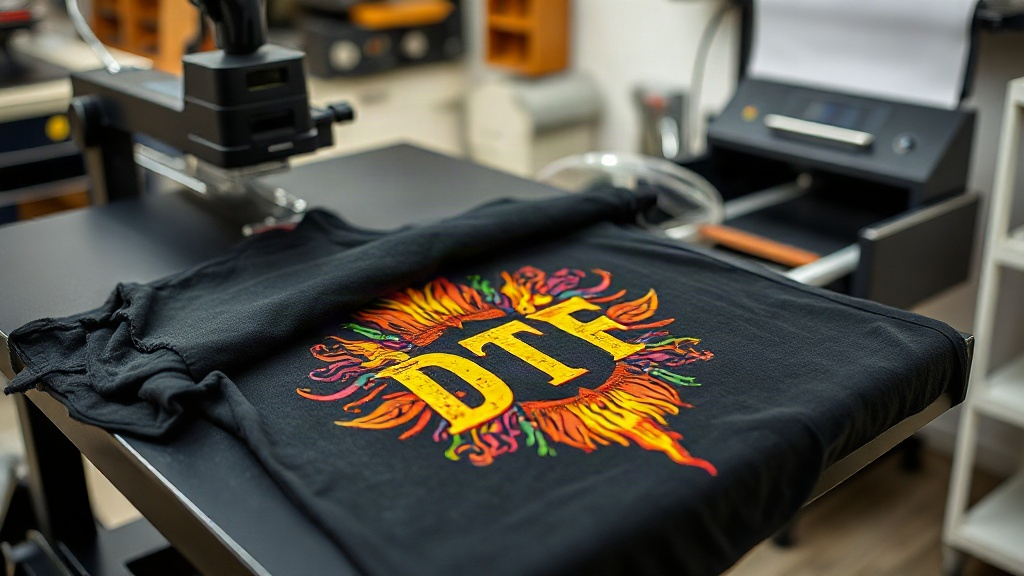
If you've been in the custom apparel game for even a short time, you've likely heard the buzz around DTF transfers. This technology has rapidly become a go-to for decorators who want vibrant, full-color designs without the complexity of traditional screen printing or the limitations of vinyl. But what exactly are DTF transfers, and why are they taking the industry by storm? In this guide, we'll dive deep into the world of DTF printing, covering everything from the basics to advanced tips that will help you achieve professional results every time.
What Are DTF Transfers?
DTF stands for Direct to Film. It's a printing method where your design is printed onto a special PET film using a DTF printer, then coated with a thermoplastic adhesive powder. Once the powder is cured, the transfer is ready to be applied to a garment using a heat press. The result is a soft, stretchable, and incredibly durable print that can be applied to a wide range of fabrics, including cotton, polyester, blends, and even nylon.
Unlike DTG (Direct to Garment) printing, which requires pre-treatment and works best on 100% cotton, DTF transfers offer unmatched versatility. They also eliminate the color limitations of vinyl and the setup costs of screen printing. Whether you're a small business owner, a hobbyist, or a large-scale producer, DTF transfers can streamline your workflow and expand your product offerings.
How DTF Transfers Work: Step by Step
Understanding the DTF process is key to mastering it. Here's a breakdown of the steps involved:
- Design Preparation: Your artwork is prepared in a RIP software, which mirrors the image and adjusts colors for optimal printing.
- Printing: The design is printed onto a PET film using a DTF printer with special DTF inks (usually CMYK plus white). The white ink acts as a base, allowing the colors to pop on dark fabrics.
- Powdering: While the ink is still wet, a thermoplastic adhesive powder is applied evenly over the print. The excess powder is shaken off.
- Curing: The film with the powder is heated to melt the powder, creating a adhesive layer that will bond to the fabric.
- Transfer: The cured transfer is placed on the garment and pressed with a heat press at a specific temperature, time, and pressure.
- Peeling: After pressing, the film is peeled away (hot or cold peel, depending on the film type), leaving the design bonded to the fabric.
Each step requires attention to detail, but once you dial in your settings, DTF transfers become a reliable and repeatable process.
Why Choose DTF Transfers Over Other Methods?
DTF transfers offer several compelling advantages that make them a favorite among decorators:
- No Weeding or Masking: Unlike vinyl, there's no tedious weeding involved. You simply print, powder, cure, and press.
- Full-Color and Photorealistic Prints: DTF can reproduce intricate details, gradients, and photographs with stunning accuracy.
- Works on Multiple Fabrics: From 100% cotton to polyester, blends, and even treated nylon, DTF transfers adhere well to a variety of materials.
- No Pre-Treatment Needed: DTG often requires pre-treating the garment; DTF does not.
- Cost-Effective for Short Runs: With no setup fees or minimums, DTF is ideal for small batches and one-offs.
- Durability: When applied correctly, DTF prints withstand repeated washing without cracking or fading.
These benefits make DTF transfers an excellent choice for custom t-shirts, hoodies, tote bags, and more.
Choosing the Right DTF Film and Powder
Not all DTF films and powders are created equal. The quality of your materials directly impacts the final result. Here's what to look for:
DTF Film
There are two main types: hot peel and cold peel. Hot peel films allow you to remove the film immediately after pressing while it's still hot, which speeds up production. Cold peel films require the transfer to cool completely before peeling, often resulting in a smoother finish. Consider your workflow and desired outcome when choosing. Also, ensure the film is compatible with your printer and ink.
Adhesive Powder
The powder is crucial for bonding. It comes in different particle sizes: fine, medium, and coarse. Fine powder is great for detailed designs, while medium is a good all-rounder. Coarse powder is best for heavy coverage. The type of powder also affects the feel of the print: finer powders tend to produce a softer hand. Always use powder specifically designed for DTF; using other adhesives can lead to poor wash durability.
Step-by-Step Application Guide for Perfect Results
Applying DTF transfers might seem straightforward, but following best practices ensures professional, long-lasting results. Here's a detailed guide:
1. Prepare Your Workspace and Garment
Ensure your heat press is on a stable surface and preheated to the recommended temperature (usually 325°F to 350°F). Pre-press the garment for a few seconds to remove moisture and wrinkles. This step is often overlooked but is critical for proper adhesion.
2. Position the Transfer
Place the DTF transfer on the garment with the printed side facing up (the powder side is the back). Position it exactly where you want it. You can use heat-resistant tape to hold it in place if needed.
3. Press with Confidence
Apply medium to firm pressure. The exact time varies by film type: typically 10-15 seconds for hot peel, 15-20 seconds for cold peel. Always check the manufacturer's recommendations. Too little pressure or time can cause poor adhesion; too much can cause the design to spread or the film to wrinkle.
4. Peel and Finish
For hot peel, remove the film immediately in a smooth, continuous motion. For cold peel, wait until it's completely cool. After peeling, you may want to do a second press with a Teflon sheet or parchment paper for a few seconds to smooth the print and ensure maximum durability.
Pro tip: Always test on a scrap garment first to dial in your settings.
Common Mistakes to Avoid with DTF Transfers
Even seasoned pros can run into issues. Here are some common pitfalls and how to avoid them:
- Insufficient Pressure: If the pressure is too low, the transfer won't adhere properly, leading to premature peeling. Adjust your heat press to apply even, firm pressure.
- Wrong Temperature: Too low and the adhesive won't activate; too high and you risk scorching the fabric or melting the film. Use a heat gun or infrared thermometer to verify your press temperature.
- Not Pre-Pressing: Skipping pre-pressing can trap moisture, causing steam that interferes with adhesion.
- Using Expired Powder or Film: Adhesive powder can absorb moisture over time, reducing its effectiveness. Store in a cool, dry place and use within the recommended shelf life.
- Peeling at the Wrong Temperature: Peeling hot peel films when cold (or vice versa) can ruin the transfer. Know your film type.
DTF Transfers for Different Fabric Types
One of the biggest advantages of DTF is its versatility across fabrics. Here's how to tailor your approach:
Cotton and Cotton Blends
DTF adheres beautifully to cotton. The natural fibers provide a great surface for the adhesive. For best results, pre-press to remove wrinkles and moisture.
Polyester and Synthetic Fabrics
Polyester can be tricky because it's heat-sensitive. Use lower temperatures (around 300°F) and shorter pressing times to avoid dye migration or scorching. Some DTF films are specifically designed for polyester and low-temperature application.
Nylon and Other Specialty Fabrics
Nylon requires a higher temperature (around 350°F) and sometimes a special adhesive powder. Always test first. For fabrics with coatings or finishes, adhesion may vary; a pre-test is essential.
Frequently Asked Questions About DTF Transfers
How long do DTF transfers last on a garment?
When applied correctly, DTF transfers can last as long as the garment itself. They withstand dozens of washes without cracking or fading. To maximize longevity, wash the garment inside out in cold water and avoid harsh detergents or high heat in the dryer.
Can I use DTF transfers on dark colors?
Absolutely! DTF transfers include a white ink base that makes colors pop on dark fabrics. This is one of the key advantages over DTG, which often requires a white underbase and pre-treatment.
Do I need a special printer for DTF transfers?
Yes, you need a DTF printer that uses DTF inks and can print white ink. However, you can also purchase pre-printed DTF transfers from suppliers if you don't want to invest in a printer. Many businesses start by outsourcing transfers and later bring printing in-house.
What is the best way to store DTF transfers?
Store unused transfers in a cool, dry place, away from direct sunlight and moisture. Keep them flat or rolled, not folded, to prevent creasing. Properly stored, they can last for several months.
Can I layer DTF transfers?
Yes, you can layer DTF transfers, but it requires careful planning. Press the first transfer, then apply the second on top, using a slightly lower temperature and pressure to avoid disturbing the first layer. Alternatively, you can print a single design that incorporates all elements.
DTF transfers have revolutionized the custom apparel industry by offering a versatile, cost-effective, and high-quality decoration method. By understanding the process, choosing the right materials, and following best practices, you can produce stunning garments that delight your customers. Whether you're just starting out or looking to expand your services, DTF transfers are a valuable addition to your toolkit.