
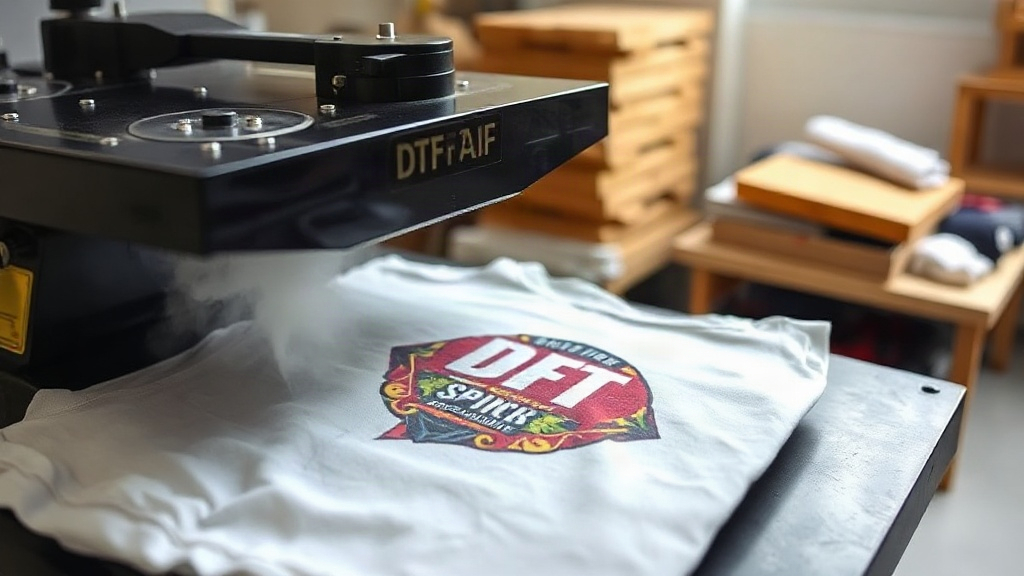
If you've been exploring custom apparel printing, you've likely encountered DTF Transfers. This innovative technology is rapidly changing how creators and businesses approach garment decoration. Unlike traditional methods that require specific fabrics or extensive setup, DTF transfers offer unmatched versatility and vibrant results. In this guide, we'll walk you through everything you need to know to get started with DTF transfers, from the basics to pro-level application techniques.
What Are DTF Transfers?
DTF stands for Direct-to-Film. It's a printing method where your design is printed onto a special film, coated with a heat-activated adhesive powder, and then transferred onto fabric using a heat press. The process eliminates the need for weeding, layering, or multiple materials. The result is a soft, stretchable print that adheres to a wide range of fabrics, including cotton, polyester, blends, and even nylon.
How DTF Transfers Differ from Other Methods
Compared to screen printing or vinyl, DTF transfers require less setup and are more cost-effective for small to medium batches. Unlike DTG (Direct-to-Garment), DTF works on dark and light fabrics without pre-treatment, and it can be applied to hard-to-print materials like canvas and leather. Plus, the color vibrancy and detail retention are exceptional.
Why Choose DTF Transfers for Your Projects?
Whether you're a hobbyist or a professional, DTF transfers bring several advantages to the table:
- Versatility: Works on almost any fabric, including blends and synthetics.
- Durability: Prints resist cracking, peeling, and fading even after multiple washes.
- Detail: Captures fine lines, gradients, and photographs with stunning clarity.
- Efficiency: No weeding or masking; simply print, powder, cure, and press.
- Cost-effective: Low startup costs and minimal waste.
Step-by-Step Guide to Applying DTF Transfers
Applying a DTF transfer is straightforward, but following the right steps ensures a professional finish. Here's what you need to do:
1. Prepare Your Workspace and Materials
Gather your heat press, DTF transfer, garment, and a lint roller or cloth. Preheat your heat press to the recommended temperature (usually around 325°F to 350°F). It's crucial to have a clean, flat surface.
2. Preheat the Garment
Place the garment on the heat press and preheat for 5-10 seconds. This removes moisture and wrinkles, ensuring better adhesion. If you're working with a blend, a slightly longer preheat may help.
3. Position the Transfer
Place the DTF transfer on the garment with the printed side facing up. Use heat-resistant tape if needed to keep it in place. For precise placement, you can use a ruler or template.
4. Press the Transfer
Apply medium to firm pressure for 10-15 seconds. The exact time depends on your press and the film manufacturer's instructions. Avoid over-pressing, as it can cause the adhesive to spread and create a halo effect.
5. Peel the Film
After pressing, wait a few seconds for the transfer to cool slightly. Then, peel the film off in a smooth, continuous motion. If the design lifts with the film, press again for a few more seconds. For a matte finish, you can do a second press with a Teflon sheet for 5 seconds.
Common Mistakes and How to Avoid Them
Even with a simple process, pitfalls exist. Here are some common issues and their solutions:
- Transfer not adhering: Ensure sufficient pressure and correct temperature. Also, preheat the garment thoroughly.
- Cracking after washing: This often happens if the transfer wasn't pressed long enough or if the garment was washed inside out in hot water. Always follow care instructions.
- Color fading: Use high-quality DTF transfers and avoid excessive heat during pressing.
- Film peeling off design: This indicates under-pressing. Increase time or pressure.
Choosing the Right DTF Transfers
Not all DTF transfers are created equal. When sourcing, consider the film quality, ink type, and adhesive powder. Look for transfers that are specifically designed for the fabric you're using. For example, stretchy fabrics require a more flexible transfer. Also, check the shelf life and storage conditions; DTF transfers should be kept in a cool, dry place away from direct sunlight.
Care Instructions for DTF-Printed Garments
To ensure longevity, advise your customers to:
- Wait 24 hours before washing.
- Wash inside out in cold water.
- Avoid fabric softeners and bleach.
- Tumble dry low or hang dry.
- Iron on the reverse side, never directly on the print.
Frequently Asked Questions
Can I use DTF transfers on 100% cotton?
Absolutely. DTF transfers work beautifully on cotton, as well as on polyester, blends, and even treated nylon. The key is to follow the pressing instructions for the specific fabric.
How long do DTF transfers last?
With proper application and care, DTF transfers can last as long as the garment itself. They resist cracking and fading for 50+ washes when washed inside out in cold water and dried on low heat.
Do I need a special printer for DTF transfers?
Yes, DTF printing requires a DTF printer, DTF ink, and DTF film. However, if you're not ready to invest in a printer, you can purchase pre-printed DTF transfers from suppliers and apply them with a heat press.
What's the difference between DTF and DTG?
DTG (Direct-to-Garment) prints directly onto the fabric, while DTF prints onto a film that is then transferred. DTF works on more fabric types and doesn't require pre-treatment, but DTG can be more cost-effective for 100% cotton in large quantities.
Can I layer DTF transfers?
Yes, you can layer DTF transfers to create multi-color designs. Press the first transfer, peel, then press the second on top. Use a Teflon sheet for the final press to ensure a smooth finish.
DTF transfers are a powerful tool in the world of custom apparel. With the right knowledge and a bit of practice, you can achieve professional results that impress your customers and elevate your brand. So why not give it a try? Your next project could be your best one yet.