
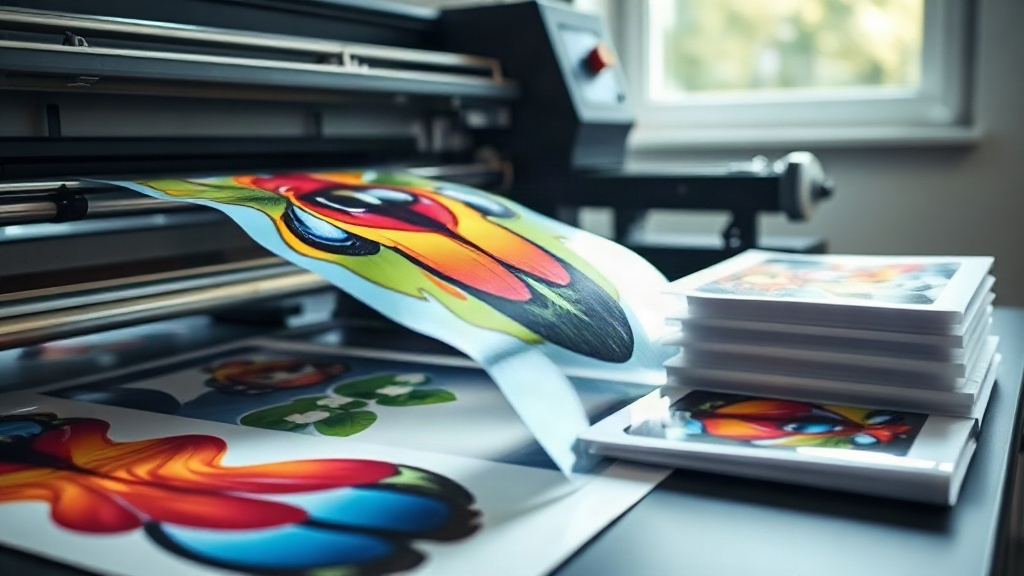
If you've been exploring custom apparel decoration, you've likely encountered DTF printing. Short for Direct-to-Film, this method has quickly gained traction among hobbyists and professionals alike for its versatility and vibrant results. Unlike direct-to-garment (DTG) printing, which requires specialized pretreatment and works best on cotton, DTF transfers can be applied to a wide range of fabrics, including blends, polyester, and even leather. The process involves printing your design onto a special film, coating it with adhesive powder, and then heat-pressing it onto the garment. The result is a soft, stretchable, and durable print that withstands repeated washing. In this guide, we'll walk you through the entire DTF workflow, from choosing the right film to troubleshooting common issues, so you can achieve professional-looking results at home or in your shop.
What Exactly Is DTF Printing?
DTF printing is a digital printing technology that transfers a design onto a film, which is then applied to fabric using heat and pressure. The key difference from other transfer methods is the use of a thermoplastic powder that acts as an adhesive. This powder melts during the pressing stage, bonding the ink to the fabric. Because the design sits on top of the fabric rather than being dyed into it, DTF prints can achieve high opacity and bright colors even on dark garments. The process is also relatively forgiving; you don't need to pretreat the fabric, and you can print on demand without minimum order quantities. This makes DTF an attractive option for small businesses, crafters, and anyone looking to create custom items quickly.
The DTF Printing Process Step by Step
Understanding the sequence is crucial for successful DTF printing. Here's a breakdown of each stage:
- Design Preparation: Start with a high-resolution image. Mirror the design horizontally because the film will be flipped when pressed. Ensure your printer's software is set to print on the correct film type.
- Printing: Load the DTF film into your printer. Most DTF printers use pigment-based inks (CMYK plus white). The white ink layer is essential for opacity on dark fabrics. Print the design onto the film's coated side.
- Powder Application: While the ink is still wet, sprinkle the thermoplastic powder evenly over the printed area. Shake off excess powder. The powder should adhere only to the wet ink.
- Curing: Place the film in a curing oven or under a heat press (without pressure) to melt the powder. This step activates the adhesive. Follow the powder manufacturer's recommended temperature and time.
- Transfer: Set your heat press to the recommended temperature (usually 300-320°F) and pressure. Place the film on the garment, cover with a protective sheet, and press for 10-15 seconds. Peel the film off either hot or cold, depending on the film type.
Each step requires attention to detail. For instance, under-curing the powder can lead to poor adhesion, while over-curing might cause the film to become brittle. Practice and consistency are key.
Materials You'll Need for DTF Printing
To get started, gather the following supplies:
- DTF Printer: A dedicated DTF printer or a converted inkjet printer with DTF inks. Epson printers are popular for conversions.
- DTF Film: Available in rolls or sheets. Choose a film compatible with your printer and ink type.
- DTF Ink: Pigment-based inks, including white. Quality ink ensures vibrant colors and durability.
- Thermoplastic Powder: Also known as hot-melt adhesive powder. It comes in different particle sizes; finer powder is better for detailed designs.
- Heat Press: A reliable heat press with consistent temperature and pressure. A clamshell or swing-away press works well.
- Curing Oven (Optional): For larger operations, a curing oven provides even heating.
- Protective Paper: Parchment paper or Teflon sheets to cover the transfer during pressing.
Investing in good quality materials will save you time and frustration. Cheaper films might curl or cause ink smudging, while low-grade powder can result in weak adhesion.
Why Choose DTF Over Other Printing Methods?
DTF printing offers several advantages that make it stand out:
- Fabric Versatility: Works on cotton, polyester, blends, nylon, leather, and more. No need for different pretreatments.
- No Weeding: Unlike vinyl cutting, there's no tedious weeding process. You print and press.
- Full-Color Prints: Achieve photorealistic images with gradients and fine details.
- Durability: When done correctly, DTF prints resist cracking, peeling, and fading.
- Cost-Effective for Short Runs: No setup fees or minimums, ideal for one-off items or small batches.
However, it's not without drawbacks. The process can be messy, and the feel of the print is slightly thicker than DTG or screen printing. Also, proper ventilation is necessary due to fumes from curing powder.
Common Challenges and How to Overcome Them
Even experienced DTF printers encounter issues. Here are some common problems and solutions:
- Ink Smudging: Ensure the film is loaded correctly and the printer settings are optimized. Too much ink can cause smearing.
- Powder Not Sticking: Apply powder immediately after printing while ink is wet. High humidity can affect adhesion; work in a dry environment.
- Poor Adhesion After Pressing: Check temperature, pressure, and time. Undercured powder or insufficient pressure are usual culprits.
- Film Peeling Off: Allow the transfer to cool completely before peeling if using cold-peel film. For hot-peel, peel immediately.
- Faded Colors: Use high-quality ink and ensure proper curing. Also, store printed film away from moisture and sunlight.
Troubleshooting becomes easier with experience. Keep a log of your settings for different fabrics and designs.
Tips for Vibrant and Durable DTF Transfers
To get the best results, follow these expert tips:
- Test Your Settings: Every printer, ink, and film combination behaves differently. Run test prints to dial in temperature, pressure, and time.
- Use a Quality Heat Press: Consistent temperature and even pressure are critical. A cheap press can lead to uneven results.
- Store Film Properly: Keep unused film in a sealed bag to prevent moisture absorption.
- Pre-Press Garments: Remove wrinkles and moisture from the fabric before transferring. This ensures smooth adhesion.
- Post-Press Care: Wait 24 hours before washing. Turn garments inside out and wash in cold water to extend print life.
By mastering these nuances, you'll produce DTF transfers that look professional and last.
Frequently Asked Questions About DTF Printing
Can I use a regular inkjet printer for DTF printing?
While some have converted standard inkjet printers for DTF, it's not recommended. DTF requires pigment inks and a white ink channel, which most regular printers lack. Dedicated DTF printers or converted models with DTF ink systems are necessary for proper results.
How long do DTF prints last?
With proper application and care, DTF prints can last as long as the garment itself. They withstand dozens of washes without significant fading or cracking. Following wash instructions (inside out, cold water, no bleach) will maximize longevity.
Is DTF printing safe for children's clothing?
Yes, when using non-toxic inks and powders that meet safety standards. Always check that your materials are CPSIA compliant if selling children's items. The cured print is generally considered safe, but avoid direct contact with skin during the curing process.
What fabrics cannot be used with DTF?
DTF adheres well to most fabrics, including cotton, polyester, blends, and leather. However, it may not work on highly textured surfaces like fleece or terry cloth, as the powder needs a smooth surface to bond. Also, fabrics with a heavy water-repellent coating may prevent adhesion.
How do I prevent the film from curling during printing?
Film curling often results from humidity or improper storage. Keep film in a dry place and use a film holder or guide to maintain tension. Some printers have a film feeding system that reduces curling. If curling persists, try a different brand of film.