
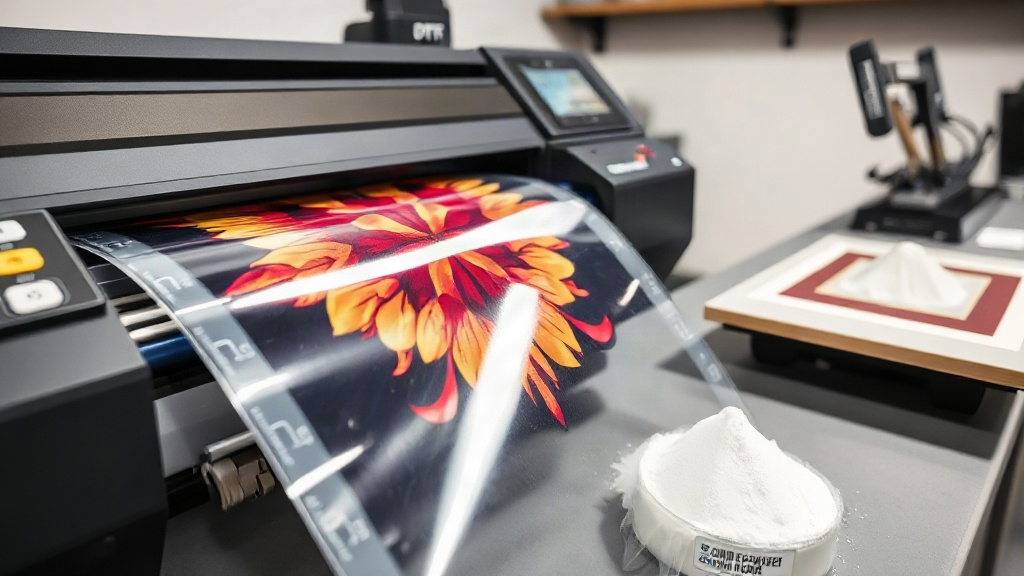
Imagine pressing a button and watching a full-color design come to life on a T-shirt, no cutting, no weeding, no color limitations. That's the promise of DTF printing, or Direct-to-Film. It's a digital printing method that's been quietly revolutionizing the custom apparel world, and for good reason. Unlike DTG or screen printing, DTF lets you transfer intricate designs onto almost any fabric, from cotton to polyester to blends, with impressive durability. If you're new to DTF, this guide will walk you through the entire process, from artwork to finished product, and share practical tips I've learned from countless hours of printing.
What Exactly Is DTF Printing?
DTF stands for Direct-to-Film. The process starts by printing your design onto a special PET film using a DTF printer loaded with pigment inks. After printing, a fine layer of hot-melt adhesive powder is applied to the wet ink. The powder sticks to the ink, and excess is shaken off. Then the film goes through a curing step, usually in an oven or with a heat gun, to melt the powder into a glue-like layer. Finally, the transfer is ready to be heat-pressed onto a garment. The film peels away, leaving the design bonded to the fabric.
What sets DTF apart is its versatility. Because the design sits on top of the fabric rather than being dyed into it, you can print on dark colors and materials that would be tricky with other methods. Plus, the adhesive layer stretches with the fabric, reducing cracking and fading.
Why Choose DTF Over Other Printing Methods?
If you're comparing DTF to DTG (Direct-to-Garment) or screen printing, here's what makes it stand out:
- No pre-treatment needed: DTG often requires pre-treating the garment, especially for dark shirts. DTF skips that step, saving time and chemicals.
- Works on almost any fabric: Cotton, polyester, blends, even leather and canvas. If it can handle heat, you can DTF it.
- Vibrant colors on dark garments: The white ink layer in DTF transfers provides a bright base, so colors pop on black or navy shirts.
- No weeding or cutting: Unlike vinyl, you don't have to cut around intricate details. The printer does all the work.
- Durable and stretchable: The adhesive powder creates a flexible bond that moves with the fabric, resisting cracks.
Of course, DTF isn't perfect for every scenario. For very large orders, screen printing might be more cost-effective, and the hand feel of DTF transfers is slightly thicker than DTG. But for small to medium runs, especially with complex designs, DTF is a powerhouse.
Step-by-Step DTF Printing Process
Let's break down the workflow so you can replicate it in your own shop.
1. Design Preparation
Start with your artwork in a vector or high-resolution raster format. DTF printers typically use CMYK plus white ink, so you'll need to ensure your design is in CMYK color mode. If your design has transparent areas, the white ink layer will be applied behind the colored inks to make them opaque on dark fabrics. Most RIP software handles this automatically, but it's good to know.
2. Printing onto Film
Load your DTF film into the printer, shiny side up (check your printer's manual). The printer lays down the white ink first, then the color inks on top. This order is crucial for vibrancy. The film is coated with a release layer that holds the ink until transfer.
3. Powder Application
While the ink is still wet, sprinkle hot-melt adhesive powder evenly over the print. You can do this manually or with an automatic powder shaker. Gently shake off excess powder; you want a thin, uniform layer sticking to the ink. Too much powder can lead to a rough feel, too little can cause poor adhesion.
4. Curing the Powder
Place the film in a curing oven at around 160°C (320°F) for 2-3 minutes, or until the powder melts and becomes glossy. If you don't have an oven, a heat press can work: press at low pressure for 10-15 seconds. The goal is to melt the powder into a smooth, clear adhesive layer. Overcuring can make the film brittle, so keep an eye on it.
5. Heat Pressing onto Garment
Set your heat press to 160°C (320°F) with medium pressure. Pre-press the garment for a few seconds to remove moisture. Place the transfer on the fabric, adhesive side down, and press for 10-15 seconds. For best results, use a Teflon sheet or parchment paper over the transfer. After pressing, let it cool completely before peeling the film. Cold peel gives a matte finish; hot peel can be done immediately but may leave a glossier look.
Choosing the Right DTF Supplies
Not all films and powders are created equal. Here's what to look for:
- Film: Look for double-sided matte PET film. Thickness around 75-100 microns works well. Cheaper films can cause ink smearing or poor release.
- Powder: Use a high-quality TPU hot-melt powder. Particle size should be fine (80-200 microns) for smooth results. Avoid powders that clump or have inconsistent granules.
- Inks: Pigment inks designed for DTF are essential. They must be able to withstand the powder and curing without clogging. Keep your printer's printhead clean and perform regular maintenance.
I've tested several brands, and I've found that investing in reputable supplies saves a lot of frustration. Cheap film can warp or leave residue, and low-grade powder may not adhere properly after washing.
Common DTF Problems and How to Fix Them
Even with experience, issues pop up. Here are a few I've encountered and their solutions:
- Design peels off after washing: Usually due to insufficient pressure, wrong temperature, or undercured powder. Increase pressure and ensure powder is fully melted. Also, wait 24 hours before washing.
- Colors look dull: Might be because the white ink layer is too thin or the powder is not clear. Check your white ink density and use high-quality powder.
- Film jams in printer: Static or humid environment can cause this. Store film in a dry place and use a dehumidifier if needed.
- Sticky residue on garment: Over-powdering or incomplete curing. Shake off excess powder more thoroughly and check curing time.
DTF vs. Other Methods: A Quick Comparison
To help you decide, here's a side-by-side look at DTF, DTG, and vinyl:
- DTF: Best for complex, multi-color designs on various fabrics. Low setup cost, no minimums. Slightly thicker feel.
- DTG: Great for 100% cotton, soft hand feel. Requires pre-treatment, limited on dark colors without white ink. Higher maintenance.
- Vinyl: Ideal for simple, one-color designs. Requires cutting and weeding. Limited to single colors per layer.
For a small business or hobbyist, DTF offers the most flexibility without a huge investment.
Frequently Asked Questions About DTF Printing
How long do DTF transfers last on a shirt?
With proper application and care, DTF transfers can last 50+ washes. Wash inside out in cold water and avoid bleach. Tumble dry low or hang dry.
Can I use DTF on 100% polyester?
Yes, DTF works well on polyester. However, polyester requires lower heat settings (around 150°C) to avoid scorching. Always test on a scrap piece first.
Do I need a special printer for DTF?
You can convert an Epson printer with DTF inks and a RIP software, or buy a dedicated DTF printer. Dedicated printers are easier but cost more. For beginners, a converted printer is a budget-friendly start.
What is the best way to store DTF transfers?
Store them in a cool, dry place away from direct sunlight. Keep them flat or rolled, not folded, to prevent creases. Use within a few months for best results.
Can I layer DTF transfers?
Yes, you can layer DTF transfers, but it's tricky. Press the first transfer, cool, peel, then press the second on top. Use low pressure to avoid squashing the first layer.
Final Thoughts: Is DTF Right for You?
DTF printing has opened doors for small businesses and DIYers who want professional-quality transfers without the limitations of other methods. It's forgiving, versatile, and the results speak for themselves. If you're willing to learn the nuances of powder application and heat pressing, DTF can become a reliable workhorse in your shop. Start with a small setup, practice on scrap fabric, and soon you'll be producing vibrant, durable apparel that customers love.