
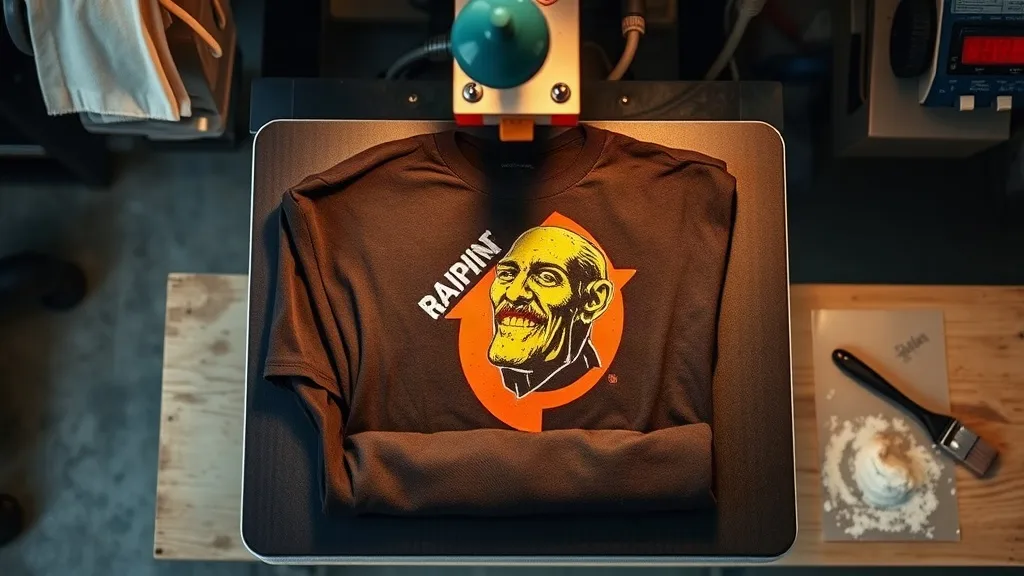
Most people meet dtf printing the same way: a customer wants a dozen shirts with a full-color photo on them, the screen printer says no, and someone in the group chat mentions that heat transfer film can handle it. That moment is usually followed by a lot of guessing. I have spent the last few years running small batches of dtf transfers for local teams, bands, and a few restaurants, and the gap between a transfer that looks great after fifty washes and one that cracks on the second wear almost never comes down to the printer. It comes down to the details around it.
What DTF Actually Is, Without the Marketing Language
Direct-to-film printing means a printer lays pigmented ink onto a PET film, then a hot-melt adhesive powder is applied to the wet ink and cured. The result is a transfer sheet you can store, ship, and press onto fabric weeks or months later. No weeding, no cutting machine, no color separation. If you have ever spent an evening picking tiny vinyl islands out of a weeded design, you already understand why this matters.
The part people underestimate is that the film is not the product. The film is packaging. The product is the cured ink-and-adhesive layer, and that layer is only as good as the powder distribution and the curing step. I have seen two shops print identical files on identical film and get wildly different durability, purely because one of them shook the powder by hand and the other used an automatic shaker with a controlled dose.
Preparing Artwork That Survives the Press
Resolution and Color Mode
Send files at final print size, 300 DPI minimum, in a wide-gamut RGB space. DTF printers run CMYK plus white, so bright oranges, neons, and deep saturated purples will shift. If a client insists on a specific brand color, ask them to approve a physical proof rather than a screen preview. I keep a small notebook of color shifts I have seen on my own machine, and it has saved more reprints than any color management profile.
White Underbase and Choke
The white layer is what makes the print opaque on dark garments, and it is also where most edge problems start. A white underbase that extends exactly to the color edge will show a faint halo after pressing. Pulling the white back by roughly 0.5 to 1 point, a choke, hides that edge under the color. Thin strokes and thin fonts need special attention here; below about 2 points, a stroke can disappear entirely once the white is choked. If a design has fine linework, thicken it slightly before printing rather than after the first failed transfer.
Powder, Curing, and the Step Everyone Rushes
After printing, the sheet goes through powder application and then curing. The powder needs to stick to the wet ink and nowhere else. Too little powder and the transfer will not bond; too much and you get a rough, plasticky surface that feels like sandpaper and traps lint. A gentle shake, a tilt, and a soft brush are the manual method, and they work fine for low volume as long as you are consistent.
Curing is where the real money is lost. The adhesive has to melt and flow into a continuous film without scorching the ink. Under-cured transfers look fine on the sheet and fail in the wash. Over-cured transfers lose elasticity and crack at the first stretch. A simple way to check: press a finished transfer onto a scrap shirt, let it cool, then stretch the fabric firmly. If the print cracks along the stretch direction, your cure is off. I test one transfer from every batch this way before committing the rest to a customer order.
Pressing Settings That Actually Work
Every press runs a little differently, so treat any published number as a starting point, not gospel. That said, here is the range I land in most often for standard cotton and cotton-blend garments:
- Temperature: 150 to 160 C (300 to 320 F)
- Pressure: medium to firm, enough that you can see the fabric texture through the film but not so much that the design squashes
- Time: 10 to 15 seconds for the transfer, plus a 5 to 8 second second press after peeling
- Peel: warm or cold peel depending on your film, and this varies by manufacturer, so test before you commit
The second press is not optional in my shop. It sets the adhesive into the fabric weave and noticeably improves wash durability. I also use a Teflon sheet or parchment over the transfer to protect the top layer from direct heat and to keep any stray powder from sticking to the upper platen.
Fabric Matters More Than You Think
DTF bonds best to cotton and cotton-heavy blends. On 100 percent polyester, especially the smooth, moisture-wicking kind used for jerseys, the adhesive has a harder time grabbing, and the print can feel stiff. On nylon, coated jackets, and anything with a durable water repellent finish, expect poor results unless you use a specialty adhesive or pre-treat the area. Stretchy fabrics are fine as long as the transfer itself is properly cured and you avoid pressing the design over a seam, which creates a hard ridge that cracks quickly.
Common Problems and What They Usually Mean
The Print Peels at the Corners
This is almost always pressure or time, not the film. Corners are the last part of the design to receive full contact, so a press with slightly uneven pressure will fail there first. Add a few seconds and check your platen for flatness. If the garment has a thick seam or zipper under the design area, build up the platen with a heat-resistant pad so the surface is level.
The Colors Look Dull After Pressing
Excessive heat dulls pigmented ink. Drop the temperature by 5 to 10 degrees and extend the time slightly. Also check that you are not pressing longer than needed to compensate for a cold press; let the platen recover fully between presses, especially on a small machine doing a long run.
Washing Ruins Everything
Wash instructions matter. Turn the garment inside out, cold water, mild detergent, no fabric softener, and tumble dry low or hang dry. Fabric softener coats the adhesive and gradually lifts the print. I hand every customer a small card with these instructions, and the difference in complaints is stark.
Storage and Handling Between Print and Press
Transfers do not like humidity or direct sunlight. Store them flat in a sealed bag away from windows, and avoid stacking heavy items on top, which can press powder into the film and cause transfer to the wrong areas. If a sheet has been sitting for months, give it a quick visual check for dust or moisture before pressing. A five-second inspection beats a ruined garment.
Frequently Asked Questions
How long do DTF transfers last on a shirt?
With correct curing, proper pressing, and cold inside-out washing, a well-made transfer typically outlasts the garment itself. Poorly cured transfers can fail in a handful of washes, so the curing and second press steps are where you should focus your attention.
Can I press DTF transfers onto 100 percent polyester?
You can, but expect a stiffer hand feel and lower durability than on cotton. Lower the temperature to around 140 to 150 C and reduce pressure slightly to avoid scorching the polyester, and always run a test piece first.
Do I need a heat press, or can I use an iron?
A home iron can work for a single test, but it cannot deliver even pressure across a large design, so corners and edges will fail. For anything you intend to sell or wear regularly, a heat press is the practical choice.
Why does my white underbase show a faint outline?
That is the white layer peeking out past the color edge, usually because the choke is too small or the film shifted during printing. Increase the choke slightly and make sure the film is seated flat and snug before the print starts.
How should I store unused transfer sheets?
Keep them flat, sealed, and out of sunlight and humid air. A cool, dry drawer or a sealed bag in a climate-controlled room works well. Avoid folding them, since creases create weak spots that crack after pressing.