
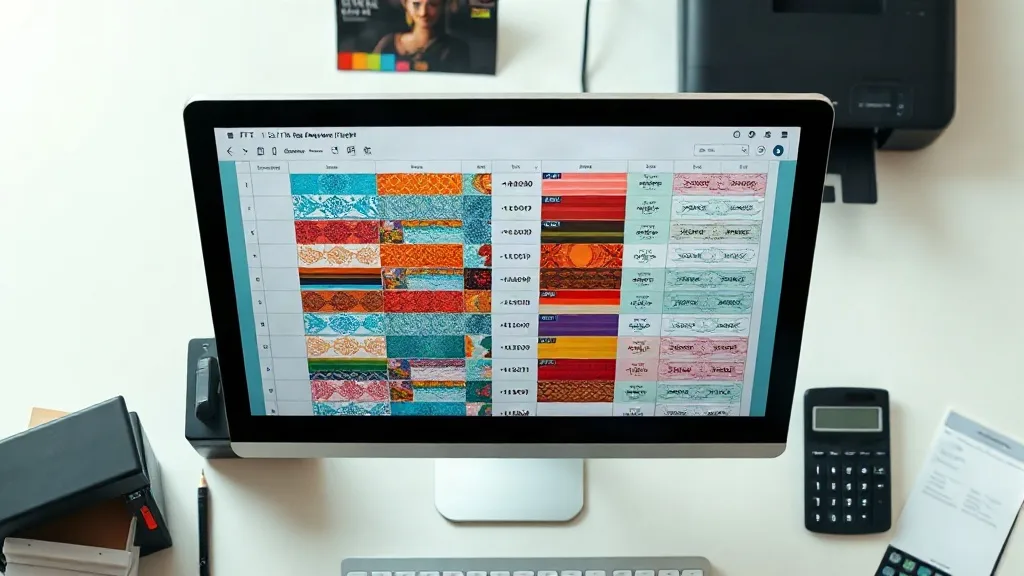
Every DTF print shop owner knows the sting of a wasted sheet. You've carefully arranged your designs, sent the file to the printer, and then realize you've left half the film empty. Or worse, you've overproduced transfers that sit in inventory, gathering dust. The truth is, profitability in DTF printing isn't just about getting more orders—it's about squeezing every possible square inch of value from your materials. And that's where the DTF Gangsheet becomes your secret weapon. In this guide, we'll explore how to plan gangsheets that cut costs without sacrificing quality, so you can boost your bottom line while keeping customers happy.
Why Gangsheet Efficiency Matters More Than Ever
DTF printing has democratized apparel decoration, but it's also a competitive space. With rising material costs and tight margins, every wasted inch of film and every gram of powder eats into your profit. A well-planned gangsheet maximizes the number of transfers per sheet, reducing your cost per print. But efficiency isn't just about cramming more designs—it's about doing so intelligently, without causing print defects or rework.
Consider this: a typical DTF film sheet costs money, and so does the ink, powder, and time. If you only fill 60% of a sheet, you're essentially paying for 40% waste. Over hundreds of sheets, that adds up to thousands of dollars lost. By optimizing your gangsheet layout, you can push that fill rate to 90% or higher, dramatically improving your ROI.
The Anatomy of a Cost-Effective Gangsheet
Creating an efficient gangsheet isn't just about rotating designs to fit. It requires a strategic approach that balances design placement, ink usage, and production workflow. Here are the key components:
1. Design Grouping by Color and Complexity
Grouping designs with similar color profiles or complexity can reduce ink changes and improve print consistency. For example, if you have several designs that use the same spot colors, place them together to minimize ink swapping. Similarly, simple designs with large solid areas can be printed together, while intricate designs with fine details might require different settings. This grouping also helps in nesting—fitting designs closely without overlapping.
2. Smart Nesting and Rotation
Nesting is the art of arranging designs to minimize empty space. But not all nesting is created equal. Rotating designs can sometimes save space, but it may also affect print quality if the design has directional elements (like text). Always consider the design's orientation and how it will be applied to the garment. Also, leave adequate spacing between designs (typically 0.25 to 0.5 inches) to prevent ink bleeding and ensure clean cutting.
3. Film Selection and Size Optimization
DTF film comes in various widths, from 13 inches to 24 inches or more. Choosing the right film width for your typical gangsheet can reduce waste. If most of your designs are small, a narrower film might be more cost-effective, as it reduces unused margins. Conversely, if you frequently print large designs, a wider film can accommodate more without seams. Calculate your average design size and volume to determine the optimal film width for your shop.
4. Powder Management
Adhesive powder is a significant cost in DTF printing. Over-powdering not only wastes material but can also lead to transfer issues. When planning your gangsheet, consider the powder application method. Some shops use automated powder shakers that reclaim excess powder, while others manually apply. Efficient gangsheets with minimal gaps reduce the amount of powder that falls through the cracks (literally). Also, ensure your designs are placed such that the powder can be applied evenly without excessive overspray.
Step-by-Step: Building a Cost-Saving Gangsheet
Now that you understand the components, let's walk through a practical process to create a gangsheet that saves money without compromising quality.
Step 1: Gather Your Orders
Collect all pending orders and group them by due date. If you have multiple orders for the same design, consider batching them to fill a sheet. For custom designs, see if you can group similar sizes or colors to optimize layout.
Step 2: Choose the Right Film Size
Based on the total area of your designs, select the film width that minimizes waste. For example, if your designs total 100 square inches, a 13-inch wide film might require 8 inches of length, while a 24-inch wide film might require only 4.5 inches. Calculate the cost per square inch for each film width to make an informed decision.
Step 3: Arrange Designs for Maximum Density
Use your design software to nest designs as closely as possible, respecting minimum spacing. Rotate designs if it saves significant space, but avoid rotating text or directional graphics. Consider placing smaller designs in gaps between larger ones to fill voids.
Step 4: Review and Adjust
Before printing, review your gangsheet for any potential issues: overlapping designs, insufficient spacing, or designs that might be too close to the edge (which can cause cutting problems). Adjust as needed to ensure a smooth print run.
Step 5: Print, Powder, and Cure
Once satisfied, print the gangsheet, apply powder evenly, and cure according to your equipment's settings. Keep track of the actual yield (number of good transfers) versus the theoretical maximum to identify areas for improvement.
Common Pitfalls That Inflate Costs
Even experienced shops fall into traps that increase expenses. Here are a few to avoid:
- Overfilling the sheet: Placing designs too close can cause ink to bleed, leading to rejects. Always maintain minimum spacing.
- Ignoring film grain direction: Some films have a grain that affects cutting. Placing designs across the grain can cause tearing. Always align designs with the grain.
- Using the wrong powder: Not all powders are created equal. Using a powder that's too coarse or fine can lead to adhesion issues, wasting entire sheets.
- Neglecting maintenance: A poorly maintained printer can cause banding or clogs, ruining a whole gangsheet. Regular maintenance is a cost-saving measure.
Measuring Success: KPIs for Gangsheet Efficiency
To continuously improve, track key metrics:
- Fill rate: Percentage of film area covered by designs. Aim for 85-90%.
- Cost per transfer: Total material cost divided by number of good transfers.
- Waste percentage: (Material wasted / total material used) x 100.
- Rework rate: Percentage of transfers that fail quality checks.
Review these monthly and set targets for improvement.
Frequently Asked Questions
How can I reduce film waste when printing small batches?
For small batches, consider using a narrower film roll or combining multiple small orders onto a single sheet. Also, plan your gangsheet to fill gaps with small designs like logos or tags that you can use for samples or future orders.
What's the ideal spacing between designs on a gangsheet?
A minimum of 0.25 inches (6.35 mm) is recommended to prevent ink bleeding and ensure clean cutting. For designs with heavy ink coverage, increase to 0.5 inches.
Does rotating designs save money?
It can, but only if it significantly increases fill rate without causing print issues. Avoid rotating designs with text or directional elements, as this can make them unusable.
How often should I calibrate my printer for gangsheet printing?
Calibrate your printer whenever you change film type or ink batch, or at least monthly. Regular calibration ensures consistent output and reduces waste from misprints.
Can I reuse leftover powder from a gangsheet?
Yes, excess powder can be collected and reused if it's clean and free of contaminants. Use a powder reclamation system or carefully sweep and sift the powder.
By treating your DTF Gangsheet as a strategic asset rather than just a step in the process, you can turn cost control into a competitive advantage. Start implementing these tips today and watch your margins improve.